
Crispy-Chewy Coconut Raisin Oat Bars
Setting the Table
The story behind the recipe
Somewhere along the way, granola bars stopped feeling like real food.
I wanted to create something that was gluten-free, dairy-free, and made with simple ingredients that actually felt nourishing. Many store-bought bars, even the healthier ones, still contain a lot of added sugar, preservatives, or ingredients that don’t work well for me.
So I started experimenting in my own kitchen.
I wanted something simple. Something warm and comforting. A snack that felt wholesome instead of overly processed. I also wanted flexibility, a recipe I could adapt depending on what I had in the pantry or what sounded good that week.
These Crispy-Chewy Coconut Raisin Oat Bars quickly became my favorite version so far.
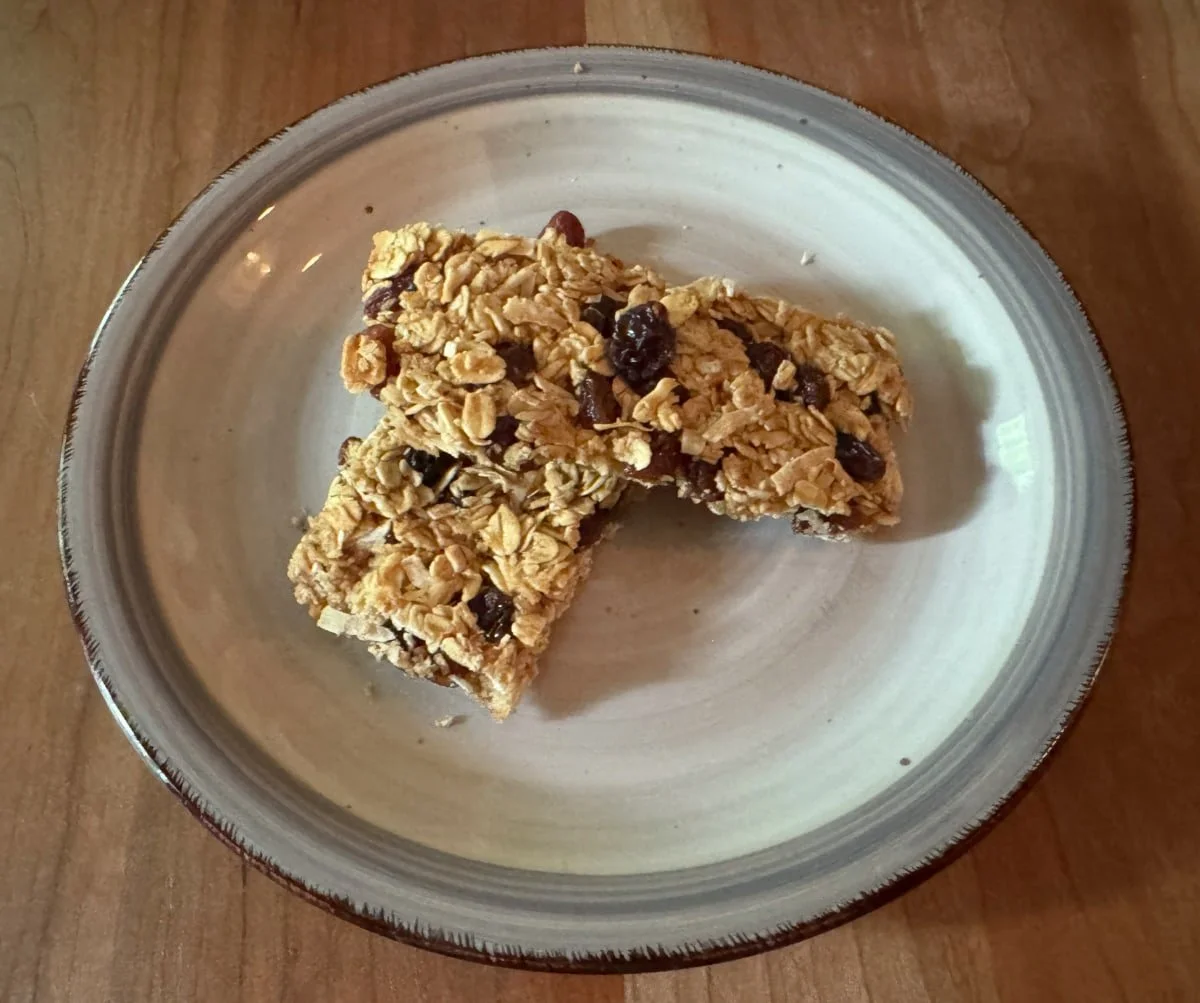
The oats give them a hearty texture, the raisins add natural sweetness, and the coconut brings just enough richness and chewiness to make them feel a little special without being heavy. The cinnamon and tiny pinch of nutmeg make the kitchen smell cozy while they bake.
What I love most is that these bars are made with simple ingredients I actually recognize and trust. No refined sugar. No complicated steps. Just wholesome pantry staples coming together into something satisfying.
They’re the kind of snack that feels good to grab in the morning with tea or tuck into your bag for later.
And honestly? I love knowing exactly what’s in them.
Filling the Bowl
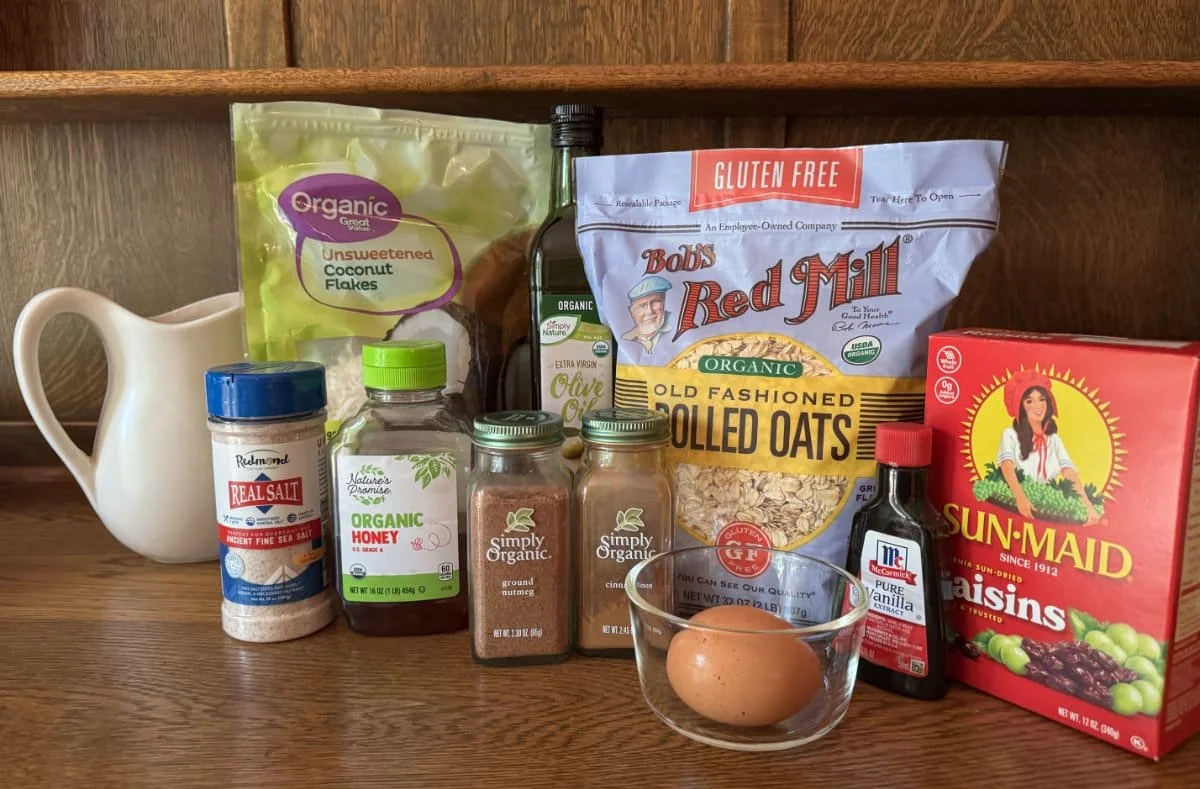
One of my favorite things about these oat bars is how simple the ingredients are. Most of them are pantry staples I already keep on hand, which makes this recipe easy to pull together without a special grocery trip.
The rolled oats create a hearty base, while the raisins add natural sweetness without needing refined sugar. The coconut flakes bring a chewy texture that makes these bars feel a little more satisfying and special. Cinnamon adds warmth, and the tiny pinch of nutmeg gives them just a subtle cozy flavor in the background.
I used honey in this batch, but maple syrup works beautifully too. And while I skipped the nuts this time, chopped walnuts or pecans would add a nice crunch if you enjoy them.
Just make sure your oats are gluten-free if needed for your kitchen.
What You’ll Need
Ingredients
1¾ cups rolled oats
¾ cup raisins
¼–⅓ cup unsweetened coconut flakes
1 egg
¼ cup honey or maple syrup
1 tablespoon olive oil
1 teaspoon vanilla
1 teaspoon cinnamon
Pinch of salt
Tiny pinch of nutmeg (optional)
Optional:
Chopped walnuts or pecans
Creating the Magic
Start by preheating your oven to 300°F and lining a small baking dish or cookie sheet with parchment paper.
In a medium bowl, combine the oats, raisins, coconut flakes, cinnamon, salt, and tiny pinch of nutmeg. In a separate bowl, whisk together the egg, honey (or maple syrup), olive oil, and vanilla.
Pour the wet ingredients into the oat mixture and stir until everything is evenly coated. The mixture should feel slightly sticky and hold together when pressed. If it seems a little too dry, add a very small splash of water (about a tablespoon) and mix again. Different oats can absorb moisture differently, so don’t be afraid to adjust slightly.
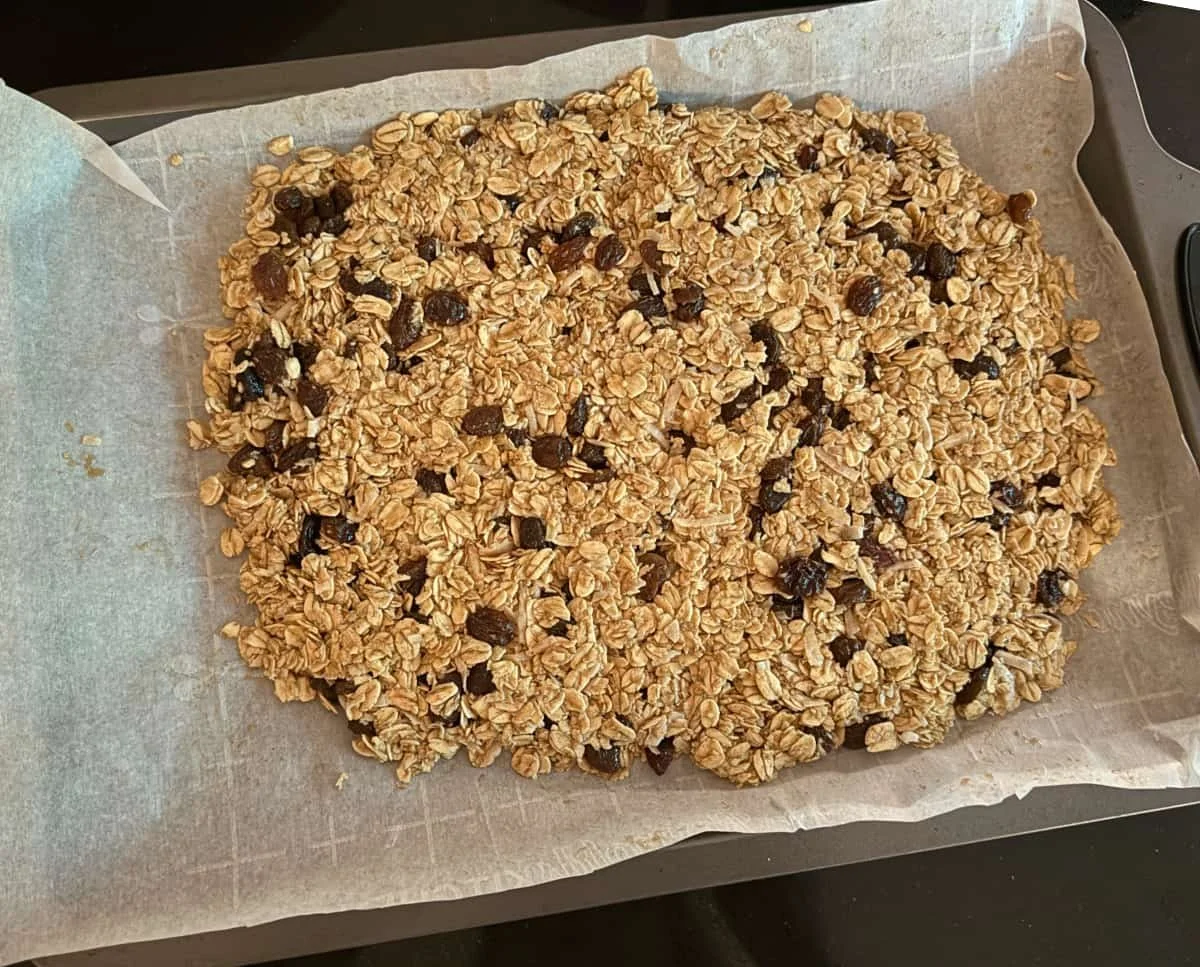
Spread the mixture into your prepared pan and firmly press it down with the back of a spoon or spatula. This step really matters. Pressing the oats down helps the bars hold together and gives them that crispy-chewy texture instead of becoming crumbly.
Bake for 22–26 minutes. Start checking around 20–22 minutes. You’re looking for:
golden brown edges
lightly toasted coconut
a top that looks mostly dry
For an extra bit of crispiness, turn the oven off when baking is finished, crack the oven door slightly, and leave the bars inside for about 10 more minutes. This helps them dry and crisp gently without overbaking.
After removing them from the oven, let the bars cool in the pan for about 45-60 minutes before cutting. This cooling time helps them firm up and hold together much better.
Once cooled, slice into bars or squares and enjoy throughout the week.
Seasoning with Wisdom
One of the things I love about these oat bars is how easy they are to customize.
If coconut isn’t your thing, you can simply leave it out and increase the oats to a full 2 cups instead. The bars still turn out delicious and hearty.
I used raisins in this batch because I love the natural sweetness they add, but I think currants would also work beautifully if you prefer a slightly different flavor or texture. I haven’t tested that version yet, but it’s definitely on my list to try.
You can also play around with the sweetness a little. Honey gives these bars a warm, cozy flavor, while maple syrup creates a slightly deeper taste.
And if your bars ever turn out a little too crumbly, don’t panic. Usually that just means the mixture needed a touch more moisture or needed to be pressed down more firmly before baking. A tiny splash of water can make a surprisingly big difference.
Planning Ahead
These oat bars have become one of my favorite make-ahead snacks because they store and travel so well.
Once they’ve completely cooled, I individually wrap the bars in plastic wrap and place them in a freezer bag. That makes them easy to grab for busy mornings, road trips, workdays, or to tuck into a lunch.
They thaw beautifully and still keep that crispy-chewy texture, which honestly surprised me the first time I froze them.
And best of all, they’re nourishing enough that I don’t feel guilty eating one for breakfast when life gets busy. Sometimes simple and practical is exactly what we need.
Serving My Final Thoughts
These little oat bars remind me that healthy eating does not have to be complicated, expensive, or perfect to be meaningful.
Sometimes it’s simply about keeping wholesome ingredients on hand and creating foods that make life feel a little easier and a little more nourishing.
I love that these bars are flexible, freezer-friendly, and made from ingredients I can recognize at a glance. They’ve become one of those simple recipes I find myself reaching for again and again because they fit real life — busy mornings, quick lunches, road trips, or quiet afternoons with tea.
And honestly, there’s something comforting about opening the freezer and knowing there’s a homemade option waiting for me instead of another highly processed snack.
If freezer-friendly recipes make life easier for you too, you might also enjoy my post about what actually freezes well gluten-free.
If you try these bars, I hope they bring a little warmth and simplicity to your kitchen too.
Originally published: May 25, 2026